Sunday, March 6, 2016

Autonomous Robot Capstone Project

I developed/tested/manufactured the ballistic system and oversaw/created the full Solidworks assembly for our senior project. The bot could autonomously follow a winding ramp, fire a golf ball into a target bin, and return to the start of the course. We made four successful trips, each averaging around 70 seconds, on competition day.

The robot had to be designed to fit in a 11 x 11 x 11" cube, draw no more than 12V, and use only ABS plastic, metal, and purchased parts. We came up with several concepts and mixed and matched them, using a weighted voting system to choose our final concept:


After selecting a spring loaded solenoid as our launching mechanism, I created a Solidworks model for fabrication:

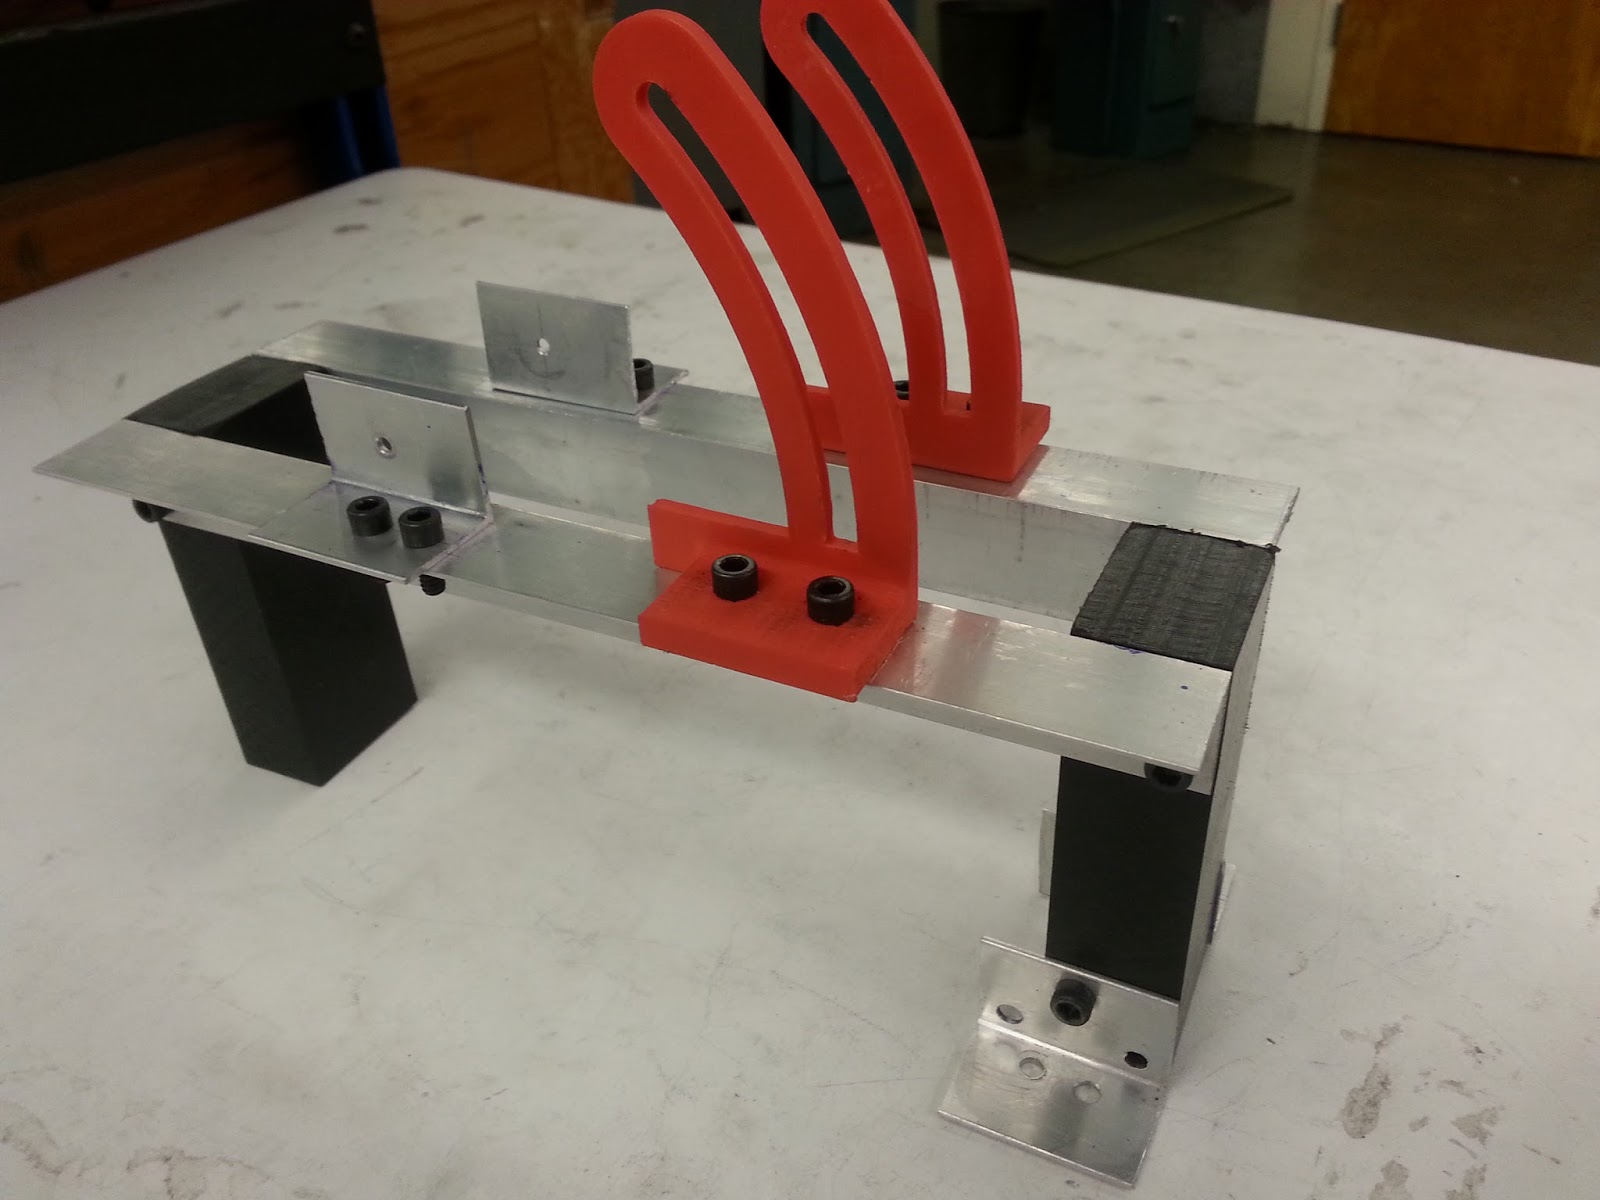
Before cutting metal, we wanted to test the performance capability of the used solenoid we selected, so I made a prototype:

After verifying the solenoid was powerful enough to launch balls into the target bin, I manufactured the final launcher with mills, lathes, bandsaws, and a 3D printer:

Our final CAD featured rear wheel drive, two side-mounted ultrasonic sensors for navigation, and our solenoid launcher with an adjustable launch angle:

Thanks to a straightforward CAD model, manufacturing the actual robot was easier than we expected:

It was very rewarding seeing the culmination of my undergraduate experience at play in such an in depth, cross functional project. It was also satisfying to see it hold its own in competition!


Video May 31, 12 03 33 AM from Alexander Phinney on Vimeo.

Satellite Attitude Control Project

I served as Risk and Manufacturing Lead for a "torque coil" prototype for UCLA's first satellite. The team wanted to assess the response capability of a coil that used aluminum wire when subjected to a magnetic field.


The coil was designed to spin "rotissere style" on one axis in response to a change in magnetic field. We had to add a stabilizing rod to round out the moment of inertia.


Below is a Solidworks model I developed for the full experimental setup.  The current in the red coil would be controlled by the DC power source. The large black coil would then turn on, and we would expect our red coil to rotate 90 degrees to align with this new magnetic field, which we would measure using the protractor block.

Our 3D printed coil. We achieved a 90 degree turn in response to a field of 20 gauss in under one second! Our final presentation was delivered to aerospace engineers at NASA JPL.

Rapid Prototyping Challenge

I was very fortunate to be project lead for a MakerBot competition. Here's the story:

Mini Turbine Challenge from Alexander Phinney on Vimeo.

Solidworks Corvette

I love my model 1969 Corvette. I wondered if I could reproduce those curves in Solidworks, so I spent the next three weeks creating a simple model, tweaking streamlines and cross sections until I had the desired result.


via GIPHY
Closeups of some of the details. I spent a lot of time trying to get the trim on the front and back fenders to have the right shape. I was able to trace out their paths on the body and use a boss sweep feature to create the right cross section.

And here are some isometric and standard views